This is a first post in a series of posts, which would describe the basics of origami. Many origami models use a set of very common patterns, and their variations, and I think it is very important that you would be familiar with some of the most popular and simple ones. 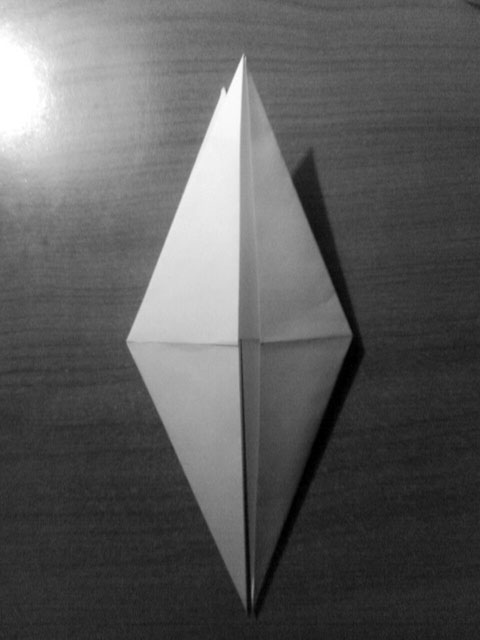 Follow these step by step origami instructions below to make the bird base. 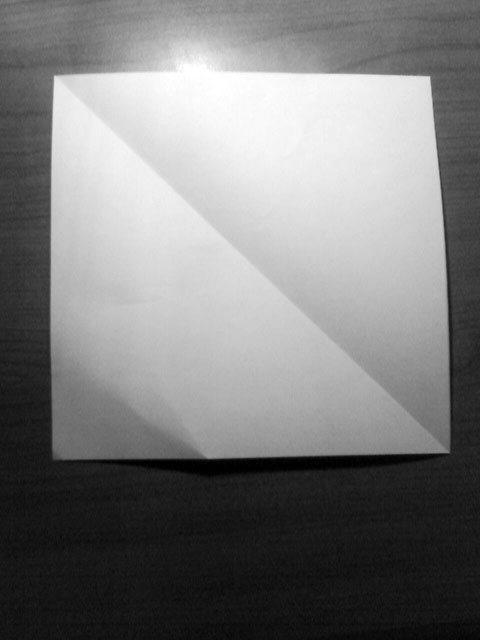 ...and a second one. 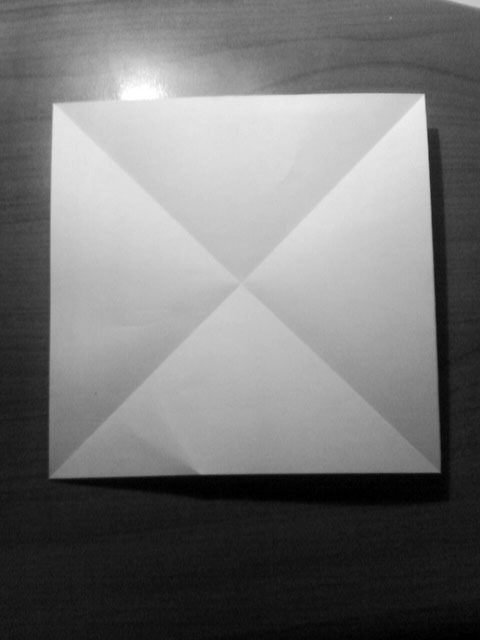 Now turn the paper to the other side... 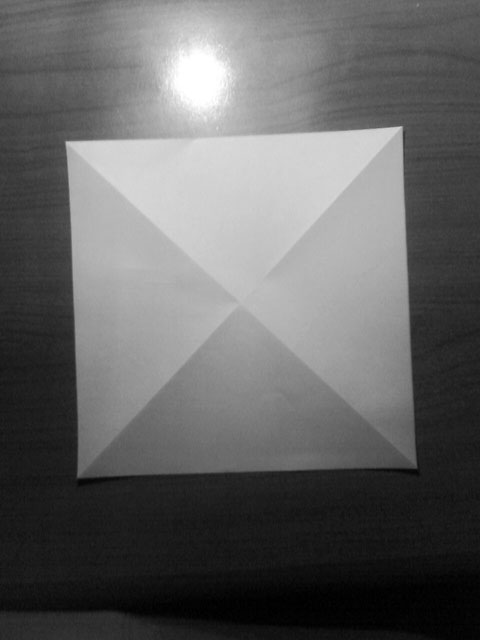 ...and fold it twice like so. 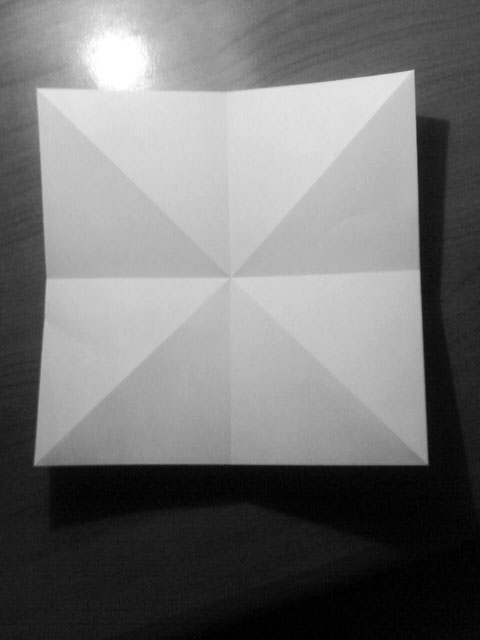 Bring the corners together. 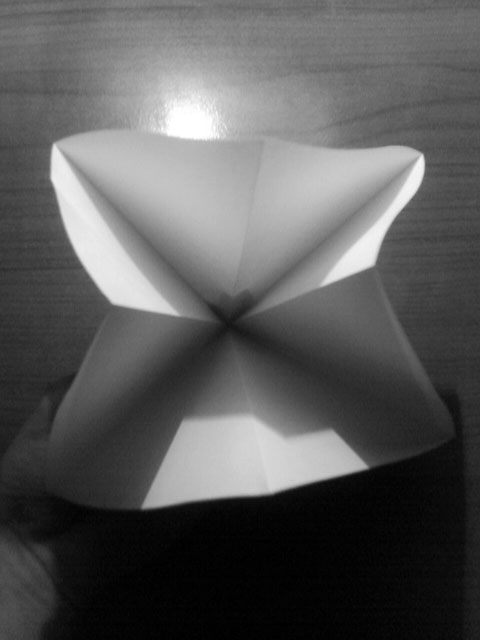 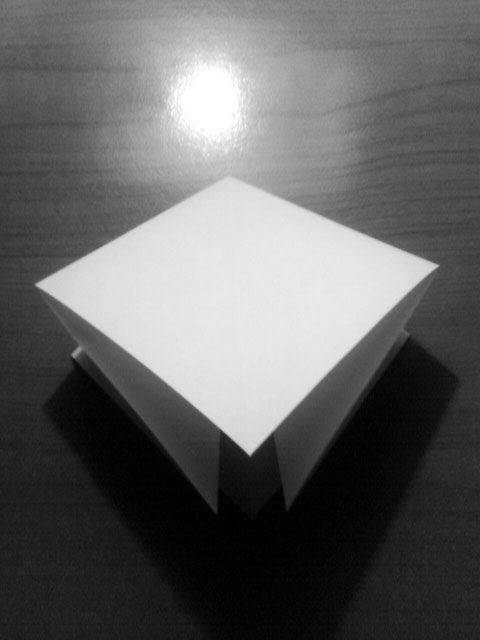 You should have something like this by now. This is called a square base, and it is so simple to make it that it does not really deserves a separate post with instructions on how to fold it, in my opinion. 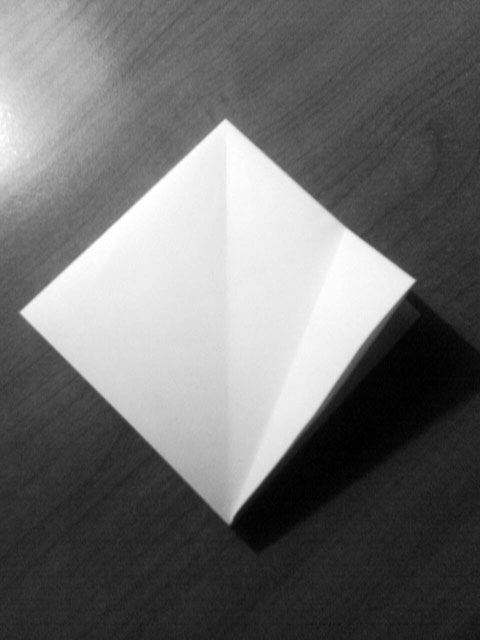 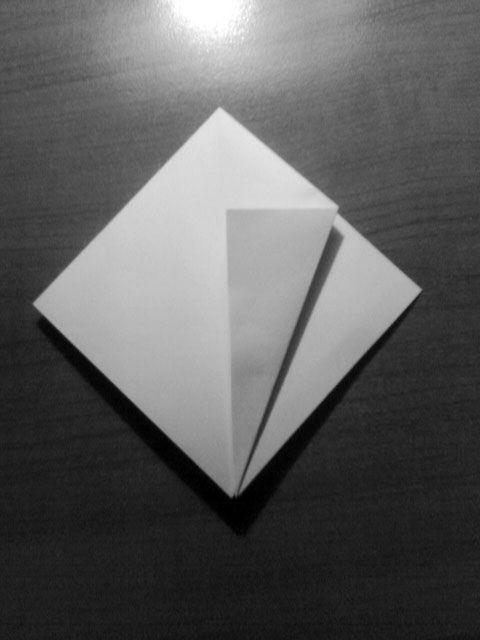 And same on the left. 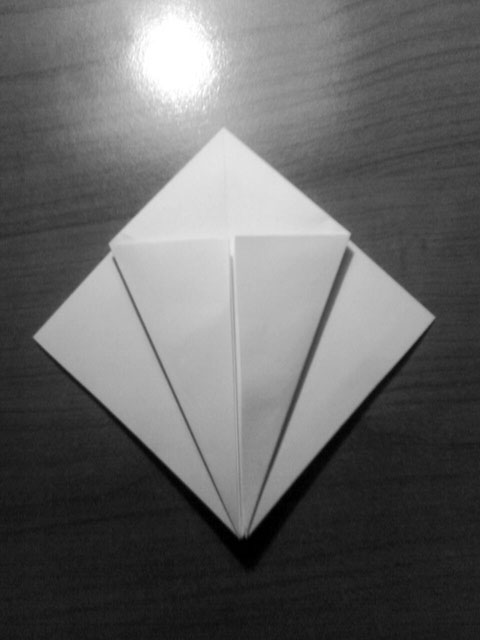 Fold the top like so. 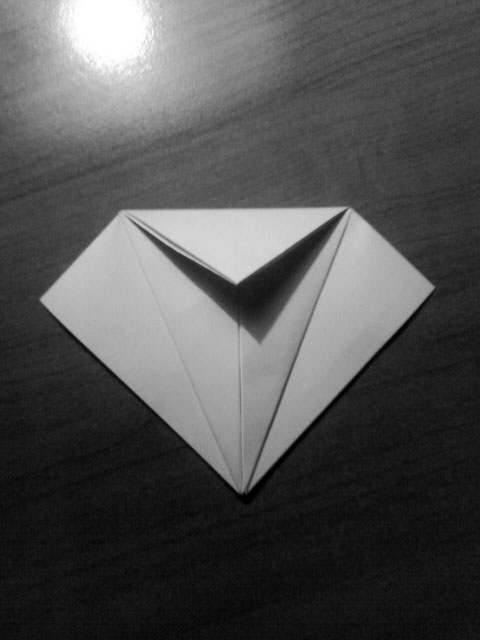 And unfold three last steps. 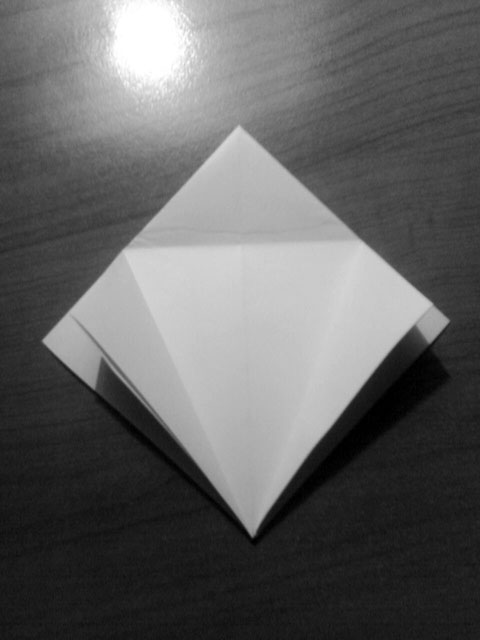 Take the corner and bring it to the top. 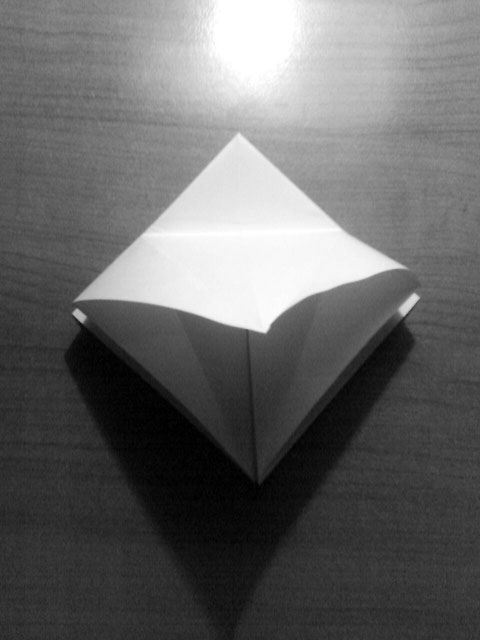 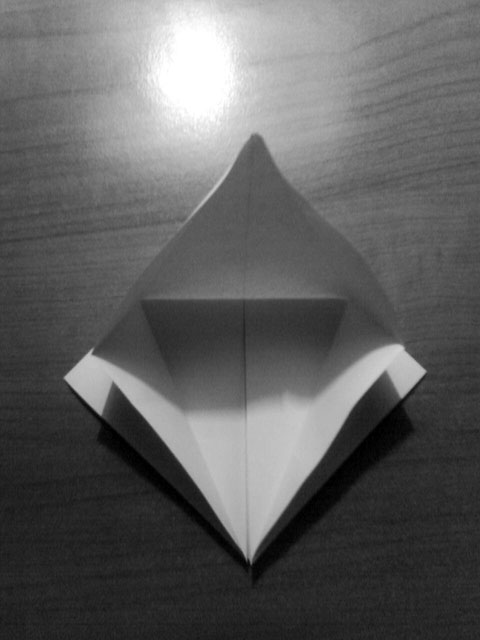 To get this. You would have to reverse some folds while you do that, since they are pointing backwards. It's ok. 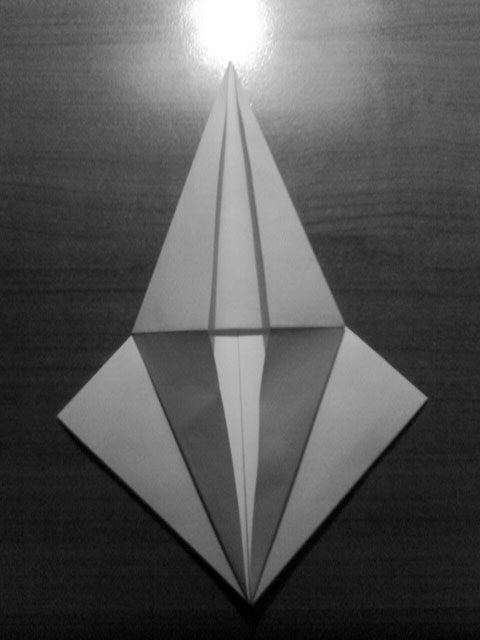 Now turn the model to its other side. 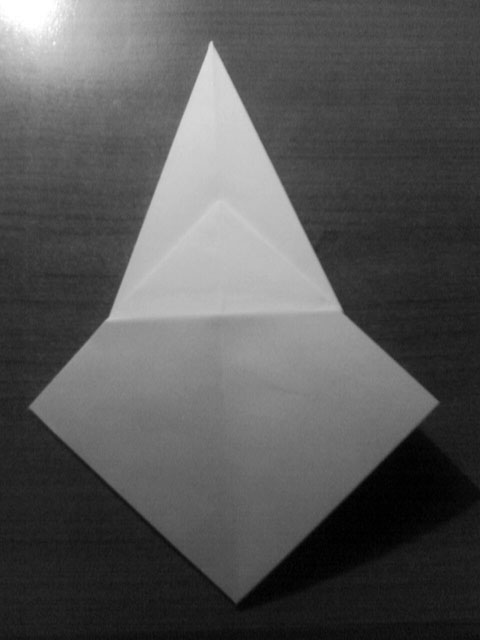 And repeat the process.  Here you go! You have just folded your first bird base! If it's not your first, then why would you need instructions to do it? ;)
0 Comments
| 
Fascinated by the art of origami? Discover how to make hundreds of models in this great book: Origami Omnibus: Paper Folding for Everybody. ArchivesFebruary 2009 Origami DragonCategoriesAll |
 RSS Feed